Embarking on the journey of starting up an oil free screw blower is a meticulous process that requires a comprehensive understanding of its components, operational principles, and safety protocols. As a seasoned supplier of Oil Free Screw Blower, I am excited to share insights into the startup process of these remarkable machines, which are renowned for their efficiency, reliability, and environmental friendliness.
Pre - Startup Checks
Before initiating the startup sequence, a series of pre - startup checks are essential to ensure the safe and efficient operation of the oil free screw blower. These checks are designed to identify any potential issues or abnormalities that could affect the performance of the blower or pose a safety risk.

Visual Inspection
Begin with a thorough visual inspection of the blower and its associated components. Check for any signs of physical damage, such as cracks, dents, or loose connections. Inspect the intake and exhaust filters to ensure they are clean and free of debris. A clogged filter can restrict airflow, leading to reduced performance and increased energy consumption.
Lubrication and Cooling Systems
Although oil free screw blowers do not require lubricating oil in the compression chamber, they may have other lubrication points, such as bearings and gears. Check the lubricant levels in these areas and ensure they are within the recommended range. Additionally, inspect the cooling system, including the coolant levels and the integrity of the cooling lines. Proper cooling is crucial to prevent overheating and ensure the longevity of the blower.
Electrical Connections
Examine all electrical connections to ensure they are secure and free of corrosion. Loose or corroded connections can cause electrical problems, such as short circuits or power fluctuations, which can damage the blower's electrical components. Check the voltage and frequency of the power supply to ensure it matches the blower's specifications.
Control Panel and Instrumentation
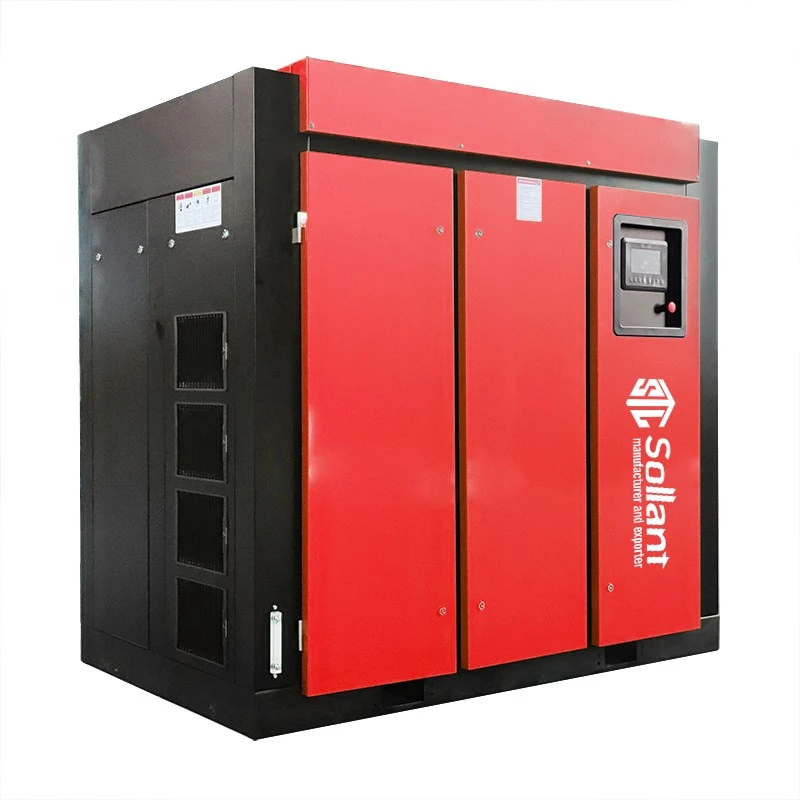
Verify that the control panel is functioning correctly and that all instruments, such as pressure gauges and temperature sensors, are displaying accurate readings. Familiarize yourself with the control panel settings and ensure that the blower is configured for the desired operating conditions.
Startup Sequence
Once the pre - startup checks are completed and no issues are detected, you can proceed with the startup sequence.
Power On
First, turn on the main power switch to supply electricity to the blower. The control panel should illuminate, indicating that the blower is receiving power. Some blowers may have a pre - start self - diagnostic routine that checks the system for any faults. Wait for this routine to complete before proceeding.
Priming the System
In some cases, the blower may require priming to ensure proper airflow. This can involve opening the appropriate valves to allow air to enter the system and purging any trapped air or moisture. Follow the manufacturer's instructions for priming the system.
Starting the Blower
After priming, initiate the startup command on the control panel. The blower's motor will start, and the rotors will begin to rotate. As the blower starts, monitor the pressure and temperature readings on the control panel. The pressure should gradually increase to the setpoint, and the temperature should remain within the normal operating range.
Adjusting the Operating Parameters
Once the blower is running, you may need to adjust the operating parameters, such as the pressure and flow rate, to meet the specific requirements of your application. Use the control panel to make these adjustments, and monitor the system closely to ensure that the changes are having the desired effect.
Post - Startup Monitoring
After the blower has been started, continuous monitoring is essential to ensure its safe and efficient operation.
Performance Monitoring
Regularly check the pressure, temperature, and flow rate readings on the control panel. Compare these readings to the blower's specifications and the requirements of your application. Any significant deviations from the normal operating range could indicate a problem with the blower or the system.
Noise and Vibration Monitoring
Listen for any unusual noises or vibrations coming from the blower. Excessive noise or vibration can be a sign of mechanical problems, such as misaligned rotors or worn bearings. If you detect any abnormal noise or vibration, shut down the blower immediately and investigate the cause.
Leak Detection
Check for any air leaks in the system by inspecting the joints, connections, and valves. A leak can cause a loss of pressure and reduce the efficiency of the blower. Use a leak detection solution or a pressure gauge to identify and repair any leaks.
Troubleshooting and Maintenance
Despite careful startup and monitoring, issues may still arise during the operation of the oil free screw blower. Familiarize yourself with common problems and their solutions to minimize downtime and ensure the longevity of the blower.
Common Problems and Solutions
- Low Pressure: Low pressure can be caused by a clogged filter, a leak in the system, or a malfunctioning pressure regulator. Check the filters, repair any leaks, and adjust the pressure regulator as needed.
- High Temperature: High temperature can result from insufficient cooling, overloading the blower, or a problem with the motor. Check the cooling system, reduce the load on the blower, and inspect the motor for any signs of damage.
- Excessive Noise or Vibration: As mentioned earlier, excessive noise or vibration can be due to mechanical problems. Inspect the rotors, bearings, and other moving parts for wear or misalignment and make the necessary repairs.
Regular Maintenance
Regular maintenance is crucial to keep the oil free screw blower in optimal condition. This includes tasks such as cleaning or replacing the filters, checking the lubricant levels (if applicable), and inspecting the electrical components. Follow the manufacturer's recommended maintenance schedule to ensure that the blower is properly maintained.
Conclusion
The startup process of an oil free screw blower is a complex but well - defined procedure that requires careful attention to detail. By following the pre - startup checks, startup sequence, post - startup monitoring, and maintenance guidelines, you can ensure the safe and efficient operation of your blower.
If you are in the market for an Oil Free Screw Blower, or if you have any questions about the startup process or the operation of these machines, we are here to help. Our team of experts can provide you with the information and support you need to make an informed decision and ensure the success of your application. We also offer a range of related products, such as Oil free Air Compressor and Oil Free Scroll Air Compressor, to meet your diverse needs. Please feel free to contact us to discuss your requirements and explore how our products can benefit your business.
References
- Manufacturer's Manuals for Oil Free Screw Blowers
- Industry Standards and Guidelines for Air Compression Systems
- Technical Papers on the Operation and Maintenance of Oil Free Screw Blowers