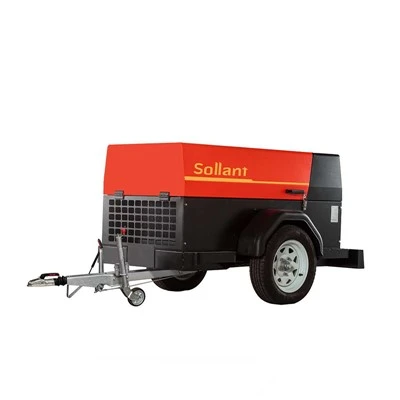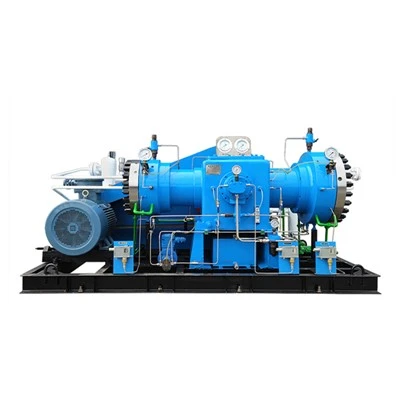
Hey there! As a supplier of fixed speed screw air compressors, I've seen my fair share of maintenance issues, and one common problem is a worn-out coupling. In this blog, I'll walk you through the process of replacing the coupling of a fixed speed screw air compressor. Whether you're a DIY enthusiast or a professional technician, this guide will help you get the job done right.
Why Replace the Coupling?
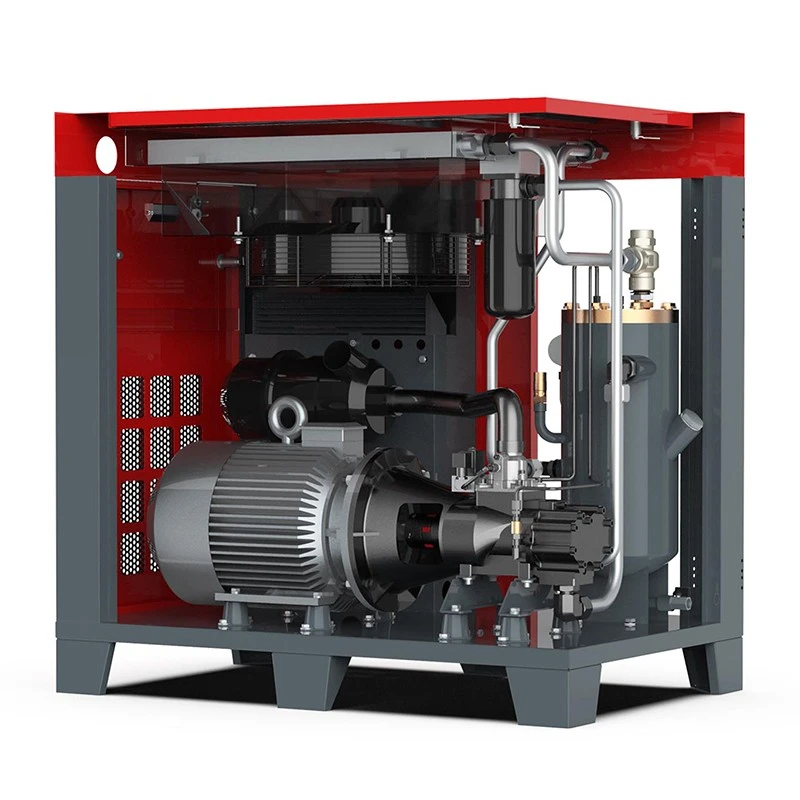
Before we dive into the replacement process, let's talk about why you might need to replace the coupling in the first place. The coupling is a crucial component that connects the motor to the compressor pump. Over time, it can wear out due to normal use, vibration, or misalignment. A worn coupling can lead to a variety of problems, including:
- Reduced efficiency: A loose or damaged coupling can cause the compressor to work harder, leading to increased energy consumption and reduced efficiency.
- Excessive vibration: Misaligned or worn couplings can cause the compressor to vibrate excessively, which can damage other components and lead to premature failure.
- Noise: A worn coupling can produce a loud noise, which can be a sign of a serious problem.
If you notice any of these symptoms, it's important to replace the coupling as soon as possible to prevent further damage to the compressor.
Tools and Materials You'll Need
Before you start the replacement process, you'll need to gather the following tools and materials:
- Socket wrench set: You'll need a socket wrench set to remove the bolts that hold the coupling in place.
- Torque wrench: A torque wrench is essential for tightening the bolts to the correct specification.
- New coupling: Make sure you have the correct replacement coupling for your compressor. You can find the specifications for your compressor in the owner's manual or by contacting the manufacturer.
- Cleaning supplies: You'll need to clean the mating surfaces of the motor and compressor pump before installing the new coupling. Use a clean cloth and a mild solvent to remove any dirt, grease, or debris.
- Safety equipment: Always wear safety glasses and gloves when working on the compressor to protect yourself from injury.
Step-by-Step Replacement Process
Now that you have all the tools and materials you need, let's get started with the replacement process. Follow these steps carefully to ensure a successful replacement:
Step 1: Turn off the Power
Before you start working on the compressor, make sure you turn off the power at the breaker box or disconnect the power cord. This will prevent the compressor from starting accidentally and causing injury.
Step 2: Remove the Guard
Most compressors have a guard that covers the coupling. Use a socket wrench to remove the bolts that hold the guard in place and set it aside.
Step 3: Remove the Old Coupling
Once the guard is removed, you'll be able to see the coupling. Use a socket wrench to remove the bolts that hold the coupling to the motor and compressor pump. Be careful not to drop the bolts or lose any washers.
Step 4: Clean the Mating Surfaces
After removing the old coupling, use a clean cloth and a mild solvent to clean the mating surfaces of the motor and compressor pump. Make sure the surfaces are free of any dirt, grease, or debris.
Step 5: Install the New Coupling
Place the new coupling on the motor shaft and align it with the compressor pump shaft. Make sure the coupling is centered and that the holes in the coupling line up with the holes in the motor and compressor pump. Insert the bolts through the holes and hand-tighten them.
Step 6: Tighten the Bolts
Use a torque wrench to tighten the bolts to the correct specification. Refer to the owner's manual or the manufacturer's specifications for the correct torque value. Over-tightening the bolts can damage the coupling or the compressor, so it's important to use a torque wrench to ensure the bolts are tightened to the correct specification.
Step 7: Reinstall the Guard
Once the coupling is installed and the bolts are tightened, reinstall the guard and secure it with the bolts. Make sure the guard is properly aligned and that the bolts are tightened securely.
Step 8: Turn on the Power
After the guard is reinstalled, turn on the power at the breaker box or reconnect the power cord. Start the compressor and listen for any unusual noises or vibrations. If everything sounds and looks okay, the replacement process is complete.
Tips and Tricks
Here are some tips and tricks to help you replace the coupling of your fixed speed screw air compressor safely and effectively:
- Read the owner's manual: Before you start working on the compressor, make sure you read the owner's manual carefully. The manual will provide you with important information about the compressor, including the correct replacement parts and the proper installation procedures.
- Use the correct tools: Using the correct tools is essential for a successful replacement. Make sure you have the right socket wrench set, torque wrench, and other tools for the job.
- Take your time: Replacing the coupling is a relatively simple process, but it's important to take your time and do it right. Rushing through the process can lead to mistakes and cause further damage to the compressor.
- Check the alignment: After installing the new coupling, make sure you check the alignment of the motor and compressor pump. Misaligned couplings can cause excessive vibration and premature failure.
- Test the compressor: Once the replacement process is complete, test the compressor to make sure it's working properly. Listen for any unusual noises or vibrations and check the pressure gauge to make sure the compressor is producing the correct pressure.
Conclusion
Replacing the coupling of a fixed speed screw air compressor is a relatively simple process that can be done by most DIY enthusiasts or professional technicians. By following the steps outlined in this blog and using the right tools and materials, you can replace the coupling safely and effectively. If you have any questions or need further assistance, don't hesitate to contact us. We're here to help you keep your compressor running smoothly.
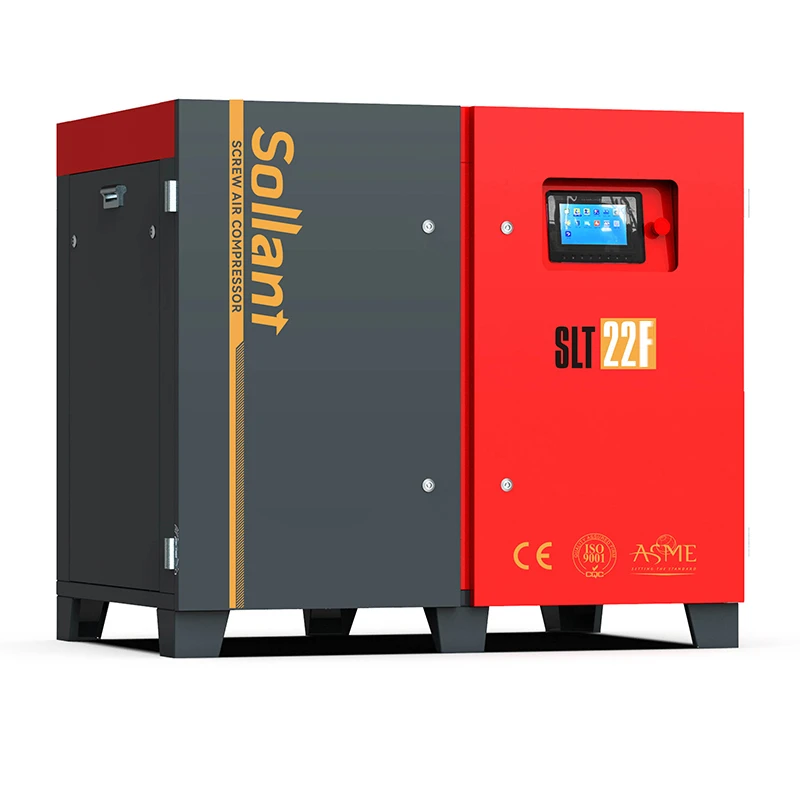
If you're in the market for a new fixed speed screw air compressor, we offer a wide range of models to choose from, including the 22KW Screw Air Compressor, 132KW Screw Air Compressor, and 18.5KW Rotary Screw Air Compressor. Our compressors are designed to provide reliable performance and energy efficiency, and we offer a variety of features and options to meet your specific needs. Contact us today to learn more about our products and to discuss your requirements.
References
- Manufacturer's owner's manual
- Industry best practices for compressor maintenance and repair