Adjusting the air intake valve of a fixed speed screw air compressor is a crucial maintenance task that can significantly impact the performance and efficiency of the equipment. As a trusted supplier of fixed speed screw air compressors, I understand the importance of this process and am here to guide you through it step by step.
Understanding the Air Intake Valve
Before we delve into the adjustment process, it's essential to understand the role of the air intake valve in a fixed speed screw air compressor. The air intake valve controls the amount of air that enters the compressor. By regulating the air intake, the valve helps maintain the desired pressure and flow rate within the compressor system. This is vital for ensuring that the compressor operates efficiently and effectively, providing a consistent supply of compressed air for your industrial or commercial needs.
Why Adjust the Air Intake Valve?
There are several reasons why you might need to adjust the air intake valve of your fixed speed screw air compressor. Over time, the valve may become worn or damaged, leading to improper air intake and reduced compressor performance. Adjusting the valve can help correct these issues and restore the compressor to its optimal operating condition. Additionally, changes in your air demand or system requirements may necessitate an adjustment to the air intake valve to ensure that the compressor is providing the right amount of compressed air.
Tools Required
Before you begin adjusting the air intake valve, you'll need to gather the necessary tools. These typically include a set of wrenches, a pressure gauge, and a screwdriver. It's also a good idea to have a service manual for your specific compressor model on hand, as this will provide detailed instructions and specifications for the adjustment process.
Step-by-Step Adjustment Process
Step 1: Safety First
Before you start working on the compressor, it's crucial to ensure your safety. Turn off the compressor and disconnect it from the power source to prevent any accidental startup. Allow the compressor to cool down completely to avoid burns or other injuries.
Step 2: Locate the Air Intake Valve
The air intake valve is usually located on the compressor's inlet side. Refer to your service manual to find the exact location of the valve on your specific compressor model.
Step 3: Check the Pressure
Use a pressure gauge to check the current pressure in the compressor system. This will give you a baseline reading and help you determine if an adjustment is necessary. Compare the reading to the recommended pressure range specified in your service manual.
Step 4: Adjust the Valve
Once you've determined that an adjustment is needed, use a wrench to loosen the lock nut on the air intake valve. Then, use a screwdriver to turn the adjustment screw on the valve. Turning the screw clockwise will increase the air intake, while turning it counterclockwise will decrease the air intake. Make small adjustments and check the pressure after each adjustment to ensure that you're moving in the right direction.
Step 5: Recheck the Pressure
After making an adjustment, use the pressure gauge to recheck the pressure in the compressor system. Continue making adjustments until the pressure is within the recommended range specified in your service manual.
Step 6: Tighten the Lock Nut
Once you've achieved the desired pressure, use a wrench to tighten the lock nut on the air intake valve to secure the adjustment.
Step 7: Test the Compressor
After completing the adjustment, turn on the compressor and let it run for a few minutes to ensure that it's operating properly. Monitor the pressure and flow rate to make sure that they're stable and within the recommended range.
Tips for Successful Adjustment
- Make Small Adjustments: It's important to make small adjustments to the air intake valve and check the pressure after each adjustment. This will help you avoid over-adjusting the valve and causing further problems.
- Follow the Manufacturer's Instructions: Always refer to your service manual for specific instructions and specifications for adjusting the air intake valve on your compressor model. Following the manufacturer's instructions will ensure that you're making the correct adjustments and avoiding any potential damage to the compressor.
- Regular Maintenance: Regular maintenance of your fixed speed screw air compressor, including checking and adjusting the air intake valve, can help extend the lifespan of the equipment and prevent costly breakdowns.
Our Fixed Speed Screw Air Compressors
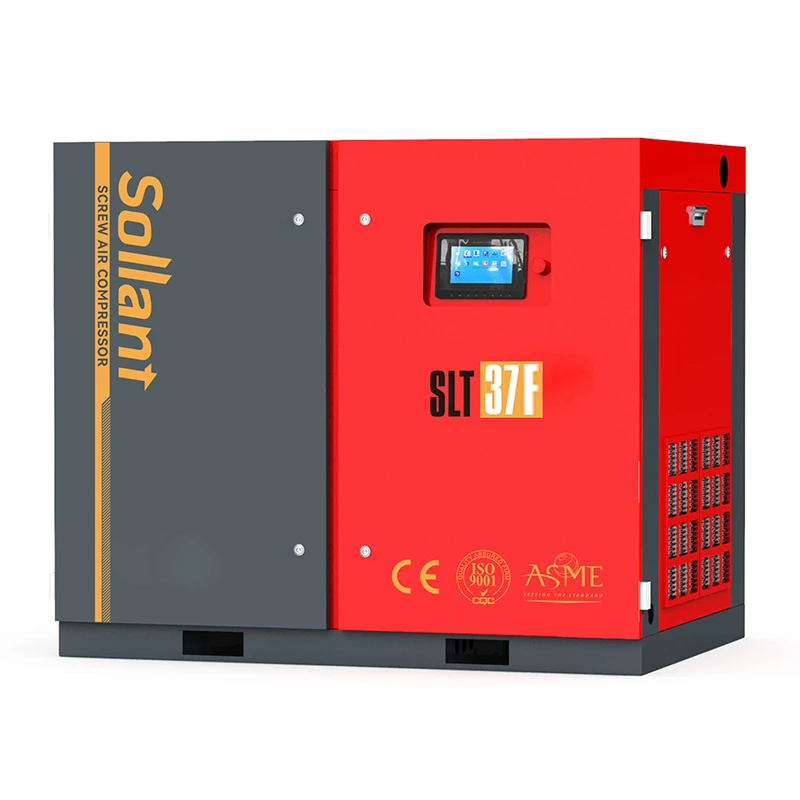
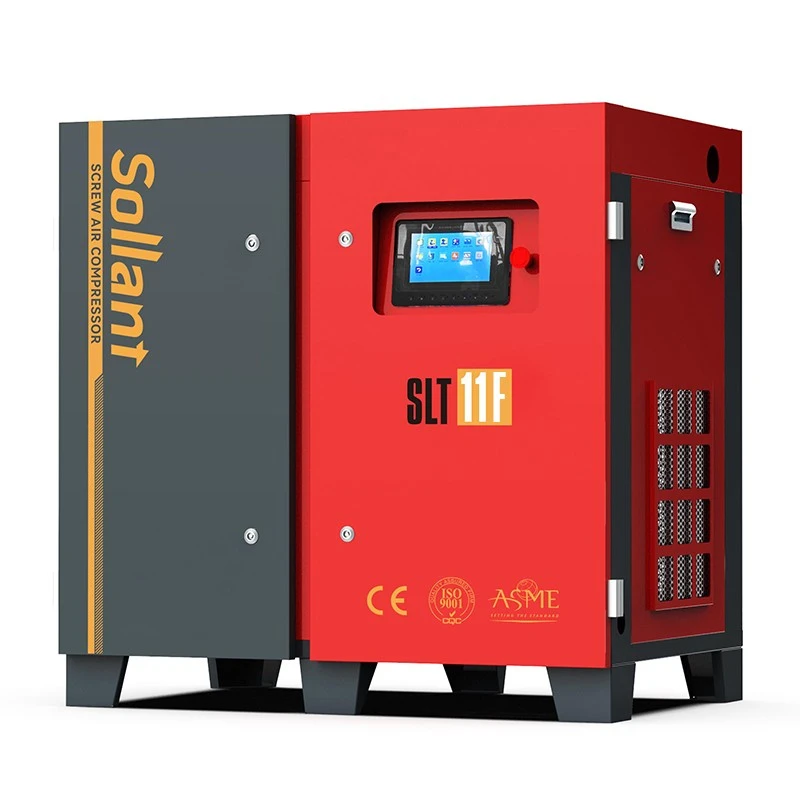
As a leading supplier of fixed speed screw air compressors, we offer a wide range of high-quality products to meet your specific needs. Our 37KW Screw Air Compressor, 11KW Rotary Screw Air Compressor, and 15KW Screw Air Compressor are designed to provide reliable and efficient performance, even in the most demanding industrial environments.
Contact Us for More Information
If you have any questions about adjusting the air intake valve of your fixed speed screw air compressor or if you're interested in purchasing one of our high-quality compressors, please don't hesitate to contact us. Our team of experts is here to provide you with the information and support you need to make the right decision for your business.
References
- Compressor Service Manuals
- Industrial Air Compressor Maintenance Guides